This guide will take you through the process of installing Chamilo 1.10 (from Github sources) for testing on a fresh Digital Ocean instance, on an Ubuntu 16.04 distribution. A previous article on this blog explains how to install Chamilo 1.9 using Juju Charms and another article explains how to install 1.10.2 on Ubuntu 15.10. The packages available on Ubuntu 16.04 being different (with the notable difference of PHP7 and support for HTTP2 being theoretically available for Apache - although this was left out for now for being experimental), we decided to write this guide to make sure the package could be installed. To follow this guide, you should be familiar with the notion of SSH keys and installing/configuring server software on Ubuntu 16.04.
Step 1: Get a Digital Ocean instance
- If you don't have one, create an account on Digital Ocean
- Give a credit card account or make a payment through PayPal (you might not need it for the first few bucks you'll need to follow this guide)
- Create a (cheap) instance of 1GB RAM ($10/month) with Ubuntu 16.04 x64. Note that a 512MB of RAM instance might fail when executing composer update later in this process
- Give an SSH key so that you can connect to your instance with "ssh root@[instance-ip]"
Step 2: Setup local DNS
To make it short, we'll just define the new instance's IP as a local name on our computer only. You can also use the IP directly, but I prefer using a name.
- edit your /etc/hosts file (on Windows, C:\Windows\System32\drivers\etc\hosts), like
- add the instance IP, a blank space, and a name you want to give it. e.g.: 104.236.39.29 cham1.beeznest.com
In my case, I have IP 104.236.39.29 and name cham1.beeznest.com, but in the following guide we will assume (for simplicity) that we use the IP address directly.
Step 3: Connect and install software stack
If you're going to use PHP7 on Ubuntu, we really recommend using Ondrej's repository to do so. Ondrej is one of the official PHP developers and has been maintaining packages for Ubuntu for some years now. Although these packages are not Ubuntu officials, they do come in more updated versions and often solve issues of dependencies when a package with a security issue has been removed temporarily from the Ubuntu repositories. To configure ondrej's repository, do this:
- Connect to your instance (ssh root@104.236.39.29)
- echo "deb http://ppa.launchpad.net/ondrej/php/ubuntu xenial main" > /etc/apt/sources.list.d/ondrej.list
- echo "deb-src http://ppa.launchpad.net/ondrej/php/ubuntu xenial main" >> /etc/apt/sources.list.d/ondrej.list
Then proceed to the normal install procedure
- apt-get update
- apt-get upgrade
- apt-get install apache2 libapache2-mod-php7.0 mariadb-client mariadb-server php-pear php7.0-dev php7.0-gd php7.0-curl php7.0-mcrypt php7.0-intl php7.0-mysql php7.0-mbstring php7.0-zip
- for Chamilo 1.11, add php7.0-xml to the mix
- mysql_secure_installation
- give a MySQL root password twice (remember it)
This whole step takes about 2.5 minutes in total on Digital Ocean's super fast infrastructure.
Step 4: Downloading from Github
- cd /var/www
- mkdir chamilo
- cd chamilo
- git clone -b 1.10.x https://github.com/chamilo/chamilo-lms www
- cd www
- cd /root
Download composer as explained in the iframe on the Composer download page. The instructions vary with the versions, so placing them here would be a mistake.
- mv composer.phar /usr/local/bin/composer
- cd /var/www/chamilo/www
- composer update
- chmod -R 0777 main/lang main/default_course_document/images/ app web
Step 5: Database
- mysql -u root -p
- [give the mysql root password]
- mysql> GRANT ALL PRIVILEGES ON chamilo.* TO chamilo@localhost IDENTIFIED BY 'chamilo';
- mysql> CREATE DATABASE chamilo;
- mysql> FLUSH PRIVILEGES;
- mysql> exit;
Step 6: Configure Apache's Virtual Host
- cd /etc/apache2/sites-available/
- vim 000-default.conf (or use another editor if you like)
- Under the #ServerName line, add: ServerName 104.236.39.29 (or the IP of this virtual machine, or the name you've given it in /etc/hosts)
- [change /var/www by /var/www/chamilo/www everywhere]
- Add the following block anywhere *inside* the VirtualHost block
 <Directory /var/www/chamilo/www>
   Options Indexes FollowSymLinks MultiViews
   AllowOverride All
   Order allow,deny
   allow from all
 </Directory>
- exit (esc + :wq + enter)
- a2enmod rewrite
- service apache2 restart
Step 7: Browser install of Chamilo
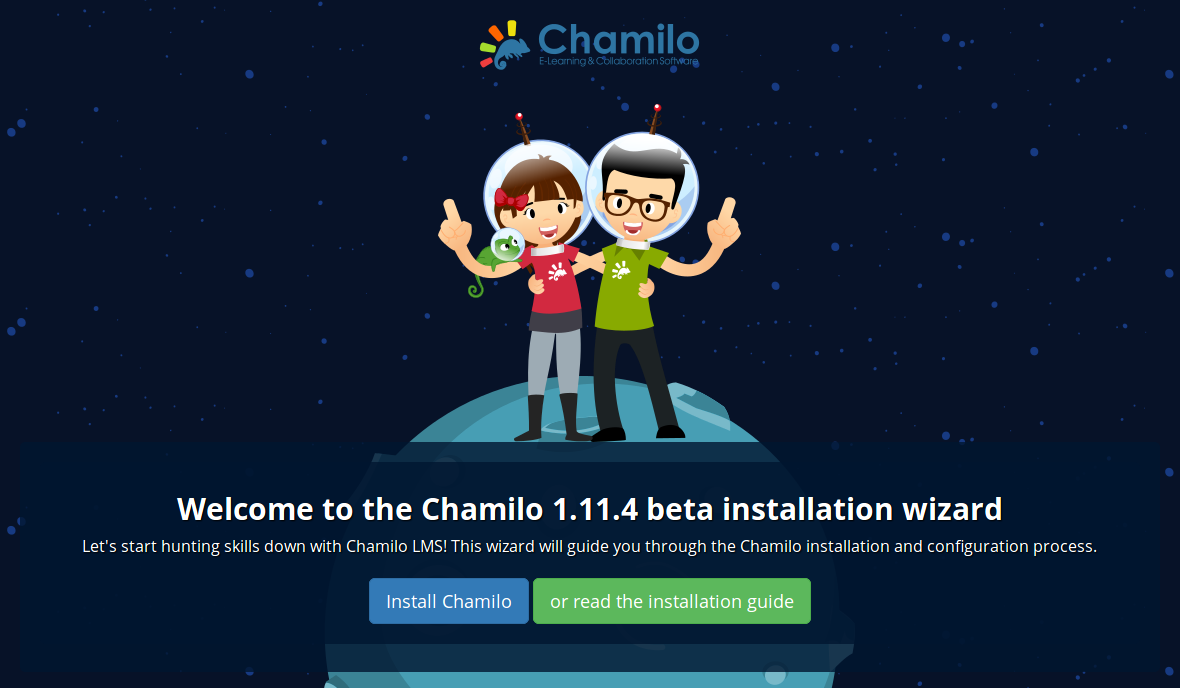
- Open your browser on http://104.236.39.29 (the IP of this virtual machine) and follow the installation process
That's all, folks! Don't forget this is a development-type installation, meaning that some things will not be tuned for production environments. If you need production-ready installations, the BeezNest team is available for hiring.
Extra: Setting it up with Nginx
If you want to use HTTP2, you will have to use Nginx. Using Nginx adds a few complicated steps to this procedure, so let's see what can be done here...
- apt-get remove apache2
- apt-get install nginx-full php7.0-fpm
- vim /etc/nginx/sites-available/default
- change "root" from /var/www/html to /var/www/chamilo/www
- use https://campus.chamilo.org/documentation/installation_guide.html to copy-paste the configuration block for Nginx, only replacing /var/run/php5-fpm.sock by /var/run/php/php7.0-fpm.sock
- vim /etc/php/7.0/fpm/pool.d/www.conf
- add "php_admin_value[date.timezone] = "Europe/Paris" at the end
- vim /etc/php/7.0/fpm/conf.d/10-opcache.ini
- add a line "opcache.enable 1"
- service nginx restart
- service php7.0-fpm restart
To enable HTTP2 support (which, by the way, will only work with HTTPS at this time), change "listen 443 ssl" to "listen 443 ssl http2". This also means that your server will be *required* to have a domain name (in this guide we essentially used an IP address to install Chamilo), and that you will *need* an SSL certificate (you can get one for free from letsencrypt.org, but that's not very easy with Nginx as of April 2016). Because of the inherent restrictions of HTTP2 in terms of security, it is mandatory to configure the port 443 section of your Nginx config in a highly-secured manner. You can use the cipherli.st page to copy-paste most of the config (you'll need to adjust to your Nginx version, though). In any case, HTTP2 will require TLS >= 1.2. Just remember that.
Google Cloud
The procedure above (with some minor changes) is exactly the same on a Google Cloud Compute instance (provided you pick an Ubuntu 16.04 image).
Chamilo 1.11.x
The procedure is very similar for Chamilo 1.11.x. In the git clone command, just change the branch ID in the git clone command (mostly) and provide database information (or just type enter) for the parameters asked during the composer update command.


Comments
A better method of installing PHP on DigitalOcean is by using a server provisioning tool or managed hosting platform, like Cloudways. You can easily and quickly setup DO droplet and PHP stack using this platform. Here is an example: https://www.cloudways.com/blog/host-php-on-digitalocean/